The snipping tool
Have you heard of the handy-dandy snipping tool? I had not, and if you haven’t either, you are in for a treat. I just stumbled onto it, and it has proven to be an invaluable find.
The snipping tool comes loaded into Windows Vista – and later versions. It has screen shot capability, meaning that it enables the user to take snapshots of any part of the computer screen. It offers several functions not available with the Print Screen key – another tool of which I was unaware until recently even though it stares me in the face every time I sit down to write.
First, let’s discuss the Print Screen key since it is a simpler version of the Snipping Tool.
The Print Screen key is on the keyboard, top row, just to the right of the function keys (F1 – F12). It is simple to use. With a single key stroke, you can take a snapshot of your entire screen or, if you have an active screen open, you can take a snapshot of it if you prefer. You will not see anything happen but an image is saved automatically. You can then open it with “Paint” or Word, copy it, save it, even email it. This is useful if, for example, you get an error message you would like to email to tech support, or for capturing and sending an impressive picture that you’ve found.
To take a picture of the active screen only (without the wallpaper), press the ALT key and the Print Screen key simultaneously, and then proceed as mentioned above.
Now on to the Snipping Tool.
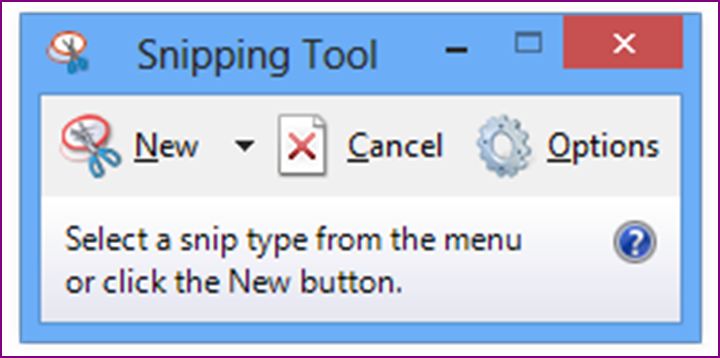
The Snipping Tool is found by clicking on the Start button, and then looking under the “Accessories” tab, or you can type “Snipping Tool” in the search box. It materializes in the form of the image at the top of this post. The Snipping Tool works just like the Print Screen key, but it provides extra functions.
Open the snipping tool and click on the options tab. A drop down menu appears that enables you to alter the tool to suit your needs. You can change the color of the border surrounding the information you capture to make it easier to see. You can show the URL and the image together, or save the image to the clipboard, among other options. Check it out.
Clicking on the “New” option allows you to select one of four alternatives. The “Free Form snip” is just that. It allows you to draw any shape and the tool will capture everything within its borders. The “Rectangular” snip will draw a box around the area you want to capture. It operates much like a cropping tool. The “Window” snip will capture whatever is within the window, while the “Whole Screen” saves everything on the screen.
The “Rectangular” snip is particularly useful. It can be used anywhere on the screen to capture images of varying sizes. Select the “Rectangular” option, hold down the left button on the mouse, and drag the rectangle to encompass the desired information. As soon as you release the mouse button, a screen will automatically appear with your selection. It displays more options. The new screen will allow you to write on the image with a pen, highlight any part of the image in yellow, erase mistakes, send the image by email, copy it, and, best of all, save it as a PNG, HTML, GIFF or JPEG file.
I am image impaired. I struggle with manipulating images, but these two tools, particularly the snipping tool, have solved many of my problems. I needed to insert images into my manuscript and was having all kinds of trouble doing so. Once I discovered the snipping tool, I was able to capture the images I needed, and manipulate them at will.
Another useful tool is GIMP. GIMP is a free program, and much like Photoshop and Illustrator, it allows you to crop, re-size and even cut out specific portions of images.
Try these tools and I think you’ll be pleased with their capabilities. They helped me.![]()


Thanks, Thomas!
No problem, Frank. We are all in this together.